In previous articles Microsoft Outlook and OneNote have been the focus. Here, it is Microsoft Excel that gains the spotlight. Excel is a powerful tool, likely known, at least to a basic degree, to all readers. Below are walkthroughs of a few fairly common features and some rarer features that may prove useful.
Much like the previous articles discussing Microsoft Office products, the examples given use Excel 2010 as many users in the NHS still use this version.
Figures 1-3.
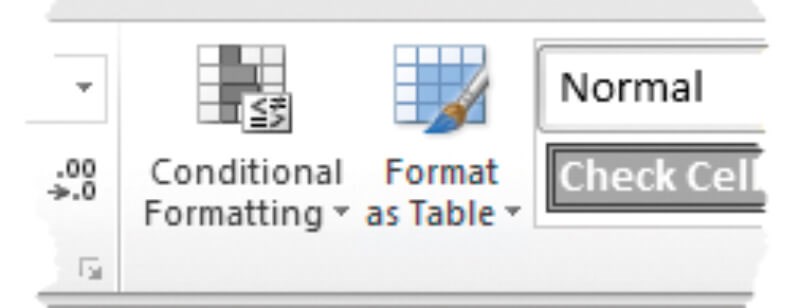
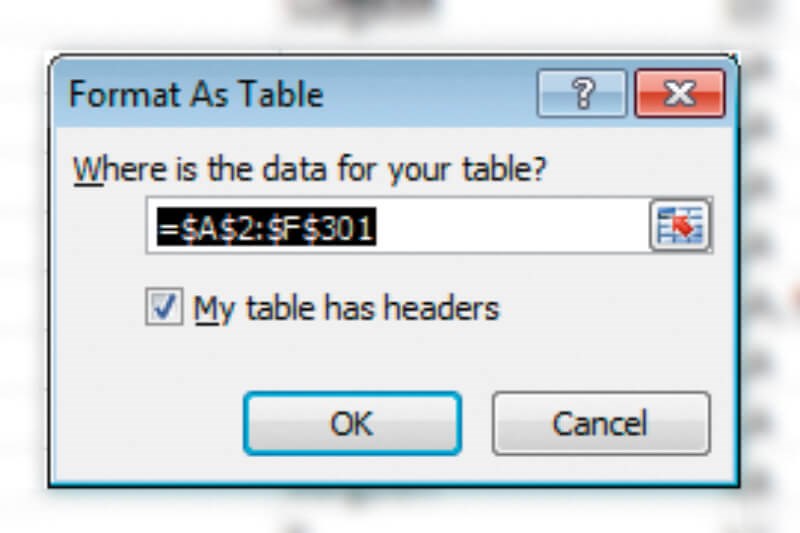
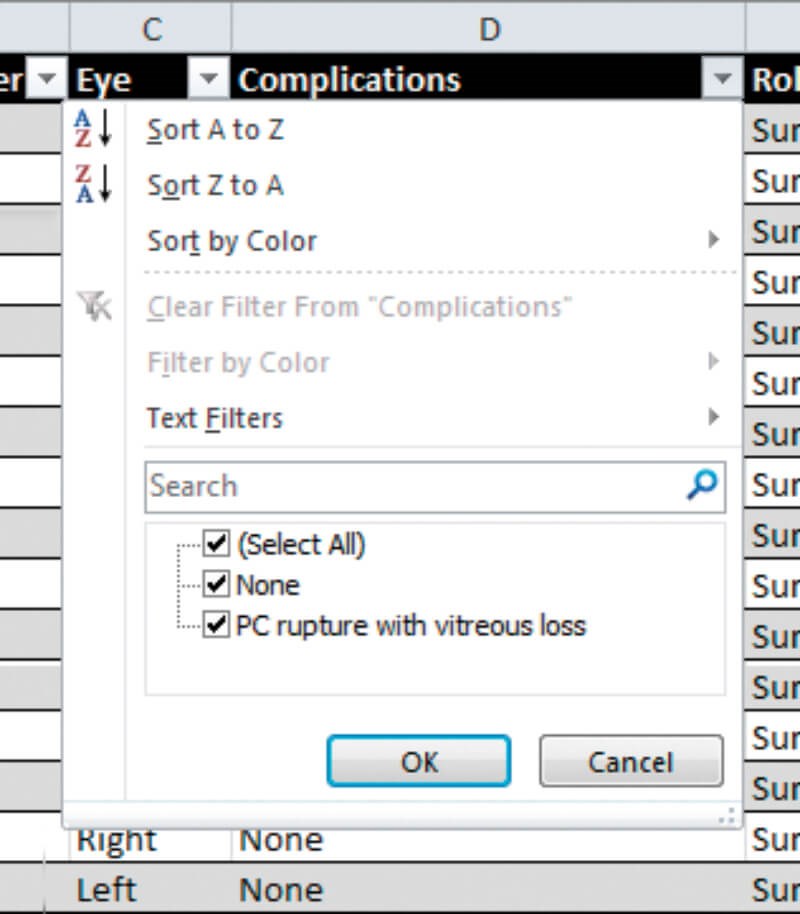
Format as table (Figures 1-3)
This tool provides two advantages when working with table-like data. It adds filter and sort options to the column titles and it allows alternate rows to be different colours. To trigger the change, select any cell inside the data table and press the ‘Format as Table’ button. A theme will then need to be selected, which can easily be altered later. Next, the data is encircled and an OK / Cancel box is shown. If all is correct, and the first row of data does represent the column titles, simply press OK. The per-column filter and sort options can then be used. Sorting the data once it has been formatted as a table is much safer as it reduces the risk of sorting just part of the data.
Figures 4-6.
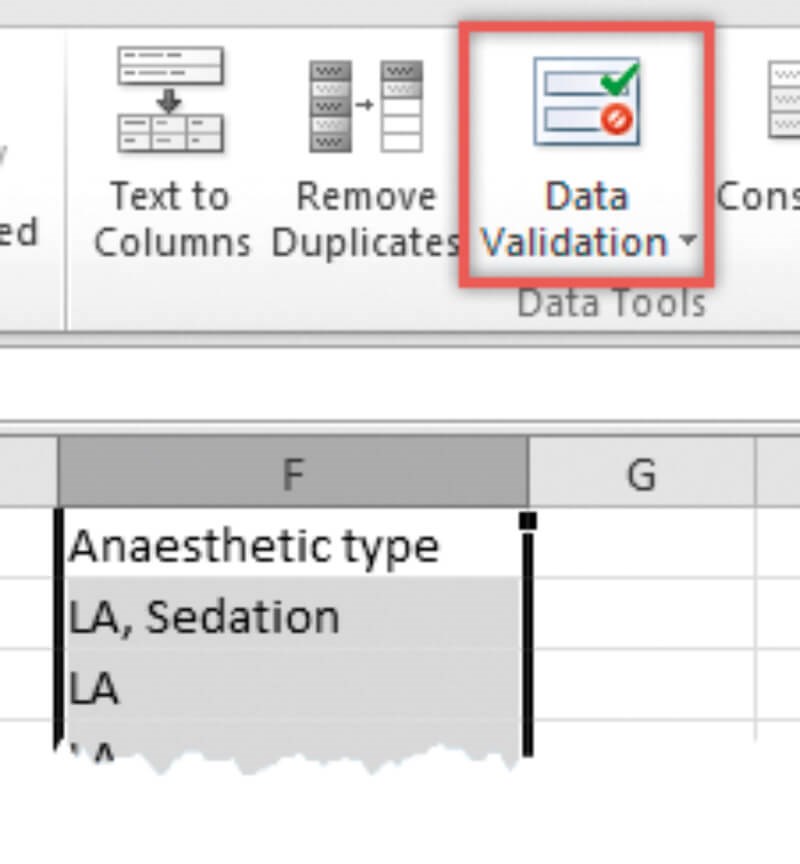
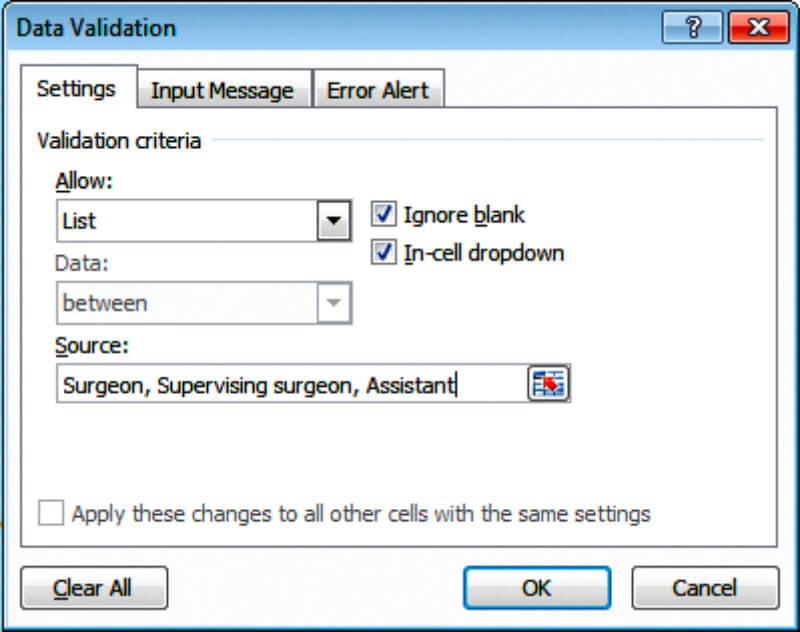
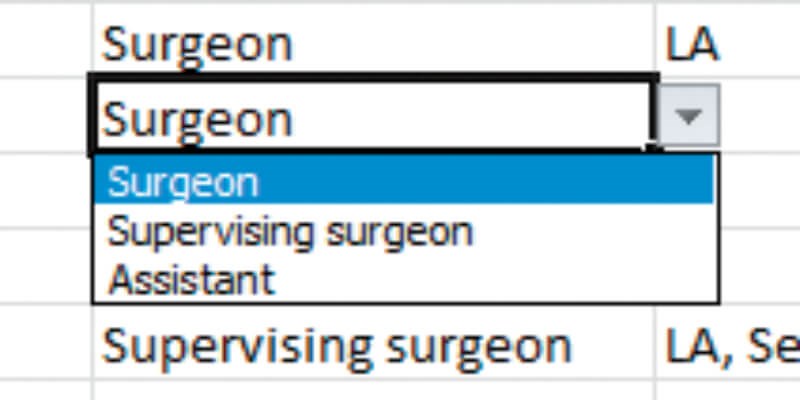
Data validation (Figures 4-6)
It is often helpful to limit the data entered into a cell. This might be to limit a value (e.g. 0 to 100) or provide a list of options to choose from. These instructions show how to provide a dropdown list of options. First select a column of data (by tapping the column letter) and then click the ‘Data Validation’ button in the ‘Data’ section. In the ‘Allow’ menu, choose the ‘List’ type. Then, in the ‘Source’ box, type the various options required (separated by commas). When the OK button is pressed, dropdown arrows appear by each cell in the column.
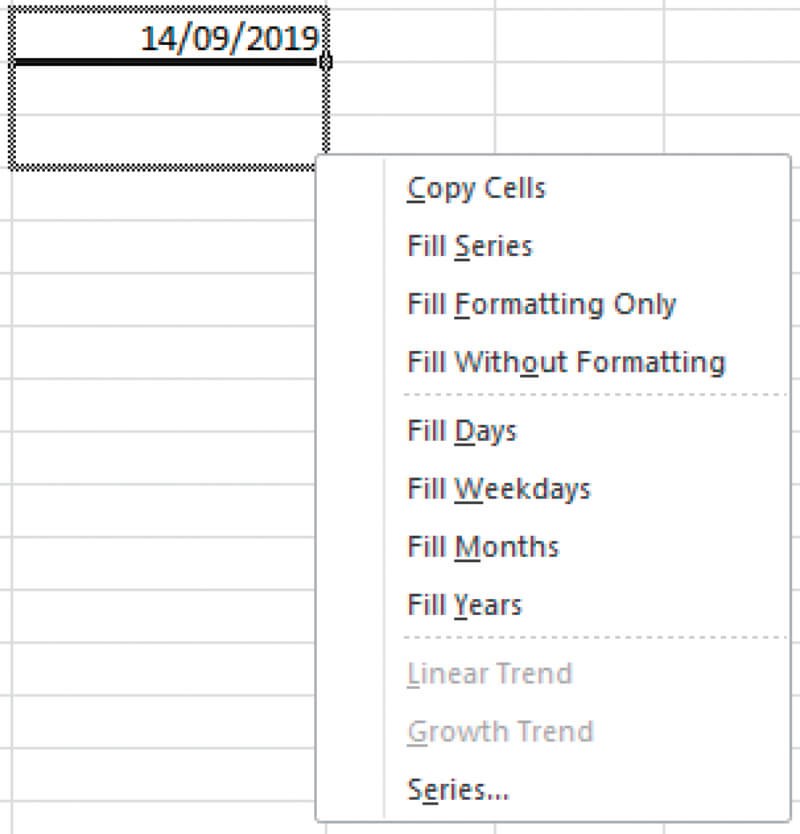
Figure 7.
Autofill right click (Figure 7)
Autofill is a commonly used feature. It is activated by dragging the black square from the bottom of a cell (or range of cells). When the left button is released any cells covered by the tool will be filled with content related to the original. This can be used to fill days of the week, months or many numeric sequences. A further, less well known, addition to this feature is to drag with the right button, instead of the left. When the button is released a menu appears that provides extra choice. For instance, if a date is selected the menu provides choice of days, weeks, months, etc.
Editing multiple sheets at the same time
If you have the same style of data on multiple sheets (e.g. one tab for 2019, one for 2020, etc.) you may need to make some changes to more than one sheet. It is possible to edit the contents of the same cell or cells on several sheets at the same time. Hold the CTRL key (PC) or the Command key (Mac) while clicking on one or more of the other tabs. The clicked tabs turn white to show they are also selected. Any changes made to the main tab will also be made to the other tabs.

Figure 8.
Widening the columns to fit the width of the data (Figure 8)
Often data in Excel sheet columns is wider than the default column width. The column widths can be manually changed to fit, but there is a way to do this once for all the columns. First, select all the columns. This can be done by pressing the symbol at the left of the column titles. Then move the mouse to the space between the tops of any two of the columns (until the pointer changes to a double headed arrow) and double click the left mouse button. All the columns will resize to fit the width of the data within.
The author has no proprietary or financial interests in the products discussed.
COMMENTS ARE WELCOME